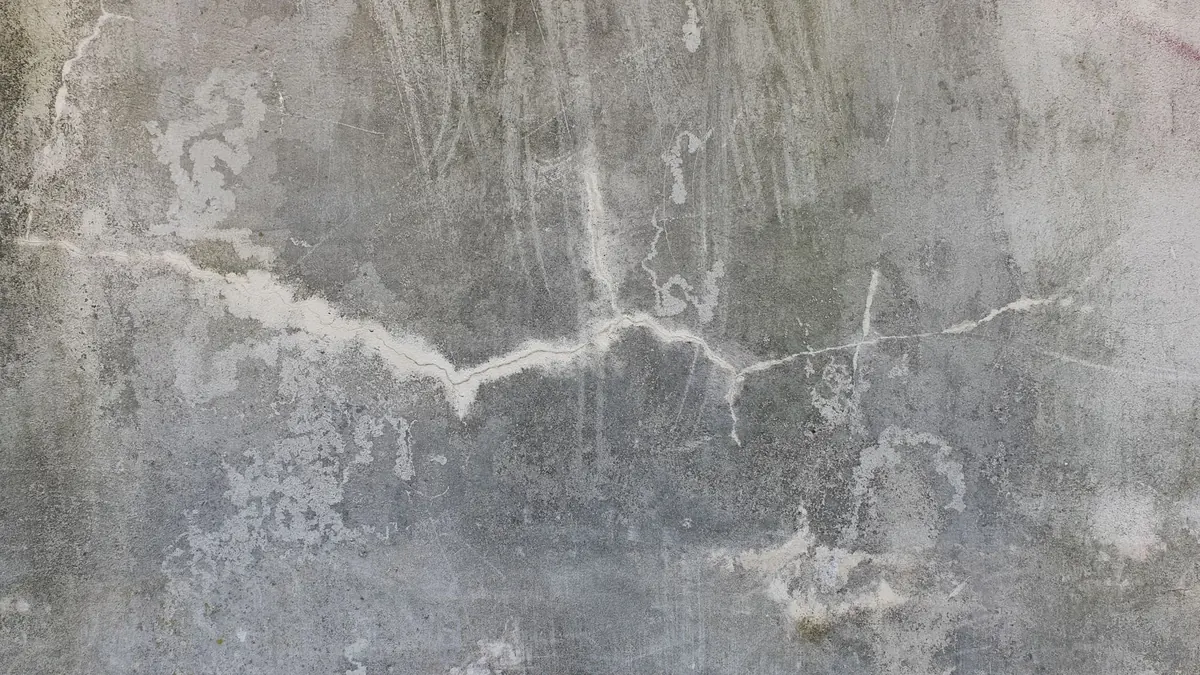
A hairline crack in a wall is easy to live with until the light falls across it at a low angle. Then it becomes the first thing you see: a thin dark line running up from the skirting, or a spider of splits above a door frame. Filling and painting it is one of the most useful skills a home improver can pick up, and one of the cheapest. You need a tub of filler, some sandpaper and an afternoon.
The filler itself is rarely the problem. Most repairs fail because the crack was not prepared properly, the wrong product was used, or the paint went on before the filler had truly dried. Get those three things right and you will struggle to find the repair afterwards.
What You're Actually Dealing With
Cracks in plaster and plasterboard come from a short list of causes: shrinkage as the plaster dries out, seasonal movement as timber and boards expand and contract, minor settlement, and vibration from doors being slammed over the years. Most hairline cracks, anything under about 2mm wide, are cosmetic and straightforward to repair.
Some are worth stopping for. If a crack is wider than a few millimetres, runs diagonally away from a door or window corner, returns within weeks of being filled, or sits near damp or visible movement, do not simply cover it up. Ask a qualified surveyor or structural engineer to look before you hide the evidence.
Choosing the Right Filler
Walk into any DIY shop and you will find a wall of tubs and cartridges. Four types cover almost everything you will meet at home.
Ready-mixed lightweight filler
The default choice for hairline and shallow cracks. It is smooth, easy to sand, dries quickly and needs no mixing. It does shrink a little as it dries, so deeper cracks will need a second pass after the first has set.
Powder filler
Sold as a bag or tub of powder that you mix with water. It sets harder than lightweight filler and shrinks far less, which makes it the better option for deeper holes, chases and any repair that might take a knock. Mix small amounts at a time to a smooth paste, roughly the consistency of thick cream, and use it within the working time stated on the pack.
Decorator's caulk (flexible acrylic)
For joints where movement is built in: where skirting meets wall, along the ceiling line, around door frames and in internal corners. Caulk stays slightly flexible, so it moves with the building instead of cracking again. It does not sand well, so smooth it with a damp cloth or a wetted finger while it is still wet.
Two-part epoxy filler
Mixed from a resin and a hardener, this sets rock hard and is excellent for timber repairs and spots that take knocks, such as a door edge or a skirting board. It is overkill for a hairline crack in plaster and much harder to sand flat.
If you only buy two things, make it a tub of lightweight ready-mixed filler and a tube of decorator's caulk. Between them they will handle nine out of ten jobs in a typical house.
What You'll Need
- Filler and, if needed, a skeleton gun for caulk
- A flexible filling knife, 4 to 6 inches wide, or an old credit card for tiny cracks
- Fine sandpaper or a sanding sponge in 120, 180 and 240 grit
- A sanding block to keep things flat
- A dust brush or vacuum, plus dust sheets
- Primer, or emulsion thinned for a mist coat
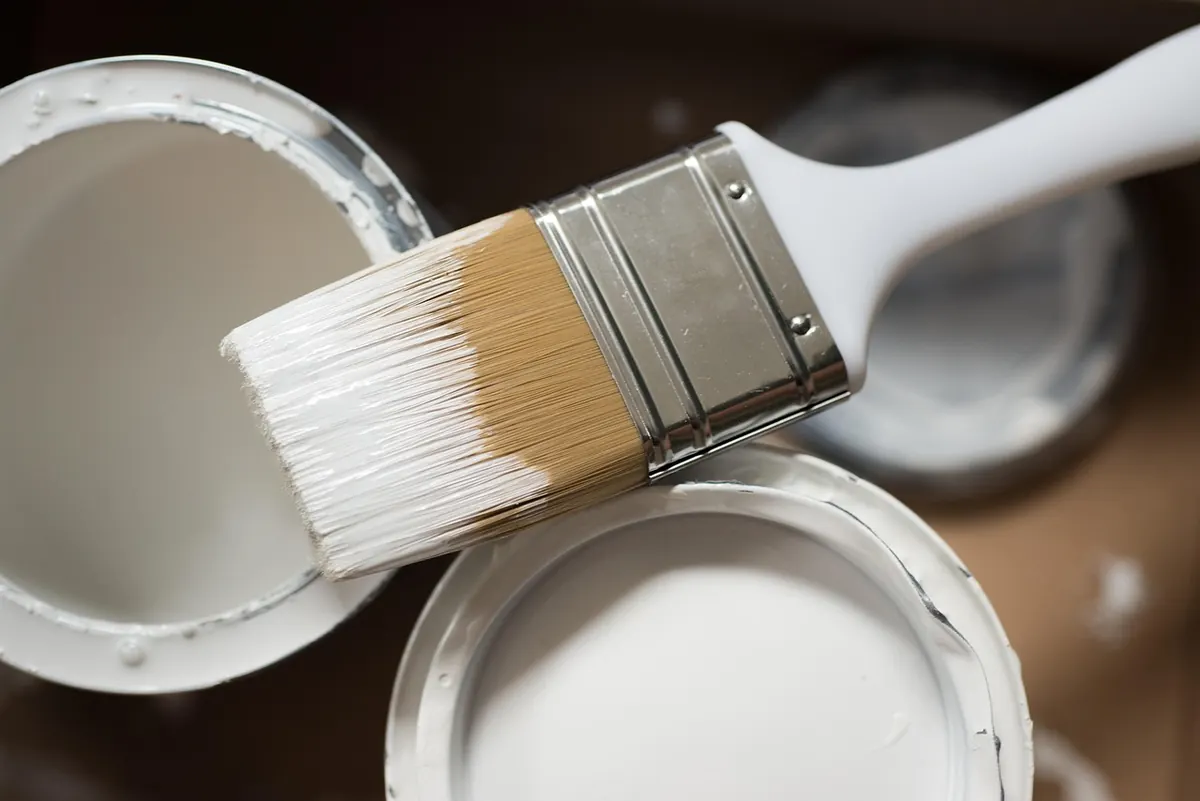
- Paint, a brush and a mini roller
- Masking tape for edges you want to protect
Preparation Decides the Finish
Start by opening the crack up slightly. Run the corner of a scraper along it to remove any loose plaster or flakes of old paint, and widen it just enough that the filler has something to grip. A crack that is sealed at the surface with a skin of paint will simply reopen later.
Then get rid of the dust. Brush it out, or run a vacuum nozzle along the line. Filler will not bond to a dusty surface, and dust left in the crack shows through a thin coat of paint as a grey shadow.
If the wall is papered, cut back any loose paper around the repair and feather the edges. If the plaster is new, make sure it is fully dry first. Some powder fillers prefer a slightly damp surface so the mix does not dry out too fast, so check the instructions on the pack.
Finally, cover the floor and open a window. Sanding filler makes a fine dust that settles everywhere, and a basic dust mask is worth wearing. If your home predates the 1980s and you do not know what is on the walls, take advice before you start sanding old coatings.
Filling in Thin Layers
Load the knife and press the filler into the crack at a shallow angle, working along its length. Then draw the blade across the repair at roughly ninety degrees to scrape the surface flush, leaving the filler a fraction proud of the wall. A second, clean pass with the blade edge will tidy the edges without dragging filler back out.
For anything deeper than a couple of millimetres, build it up in layers rather than filling in one go. Let each layer set before adding the next. Filler that goes on thick dries unevenly, shrinks and often cracks down the middle, which puts you back where you started.
Caulk is applied differently: run a thin bead along the joint, then smooth it immediately with a damp cloth or finger. Keep a bowl of water to hand and wipe the blade between passes.
Sanding, Priming and Painting
Sanding flat
Wait longer than you think you need to. Filler that feels dry on the surface can still be soft underneath. Once it is genuinely set, sand with 120 or 180 grit on a block, not with your fingers, which will dish the wall. Feather the edges so the repair blends into the surrounding plaster, then finish with 240 grit for a smooth surface. Run your hand over it and check it in raking light before you paint.
Priming the repair
Filler is far more porous than paint, so it soaks up emulsion and dries patchy. This is known as flashing, and it is the reason so many repairs are still visible after two coats. Seal the area first with a mist coat, which is emulsion thinned with around 10 to 20 per cent water, or with a dedicated primer-sealer. Let it dry properly before continuing.
Painting
Match the finish exactly. Matt emulsion over a patch on a silk or eggshell wall will show every time, and touching up a washable finish rarely blends, so you may need to repaint the whole wall. Apply two thin coats rather than one thick one, and extend the paint well beyond the repair, ideally to the nearest corner.
A mini roller helps to match the texture of a roller-finished wall; a brush leaves a different surface that catches the light. Roll in the same direction as the original finish and keep the edges feathered so there is no hard line.
Mistakes That Give the Game Away
- Filling over a crack without raking it out first, so it reappears within weeks
- Skipping the dust removal, which stops the filler bonding
- Piling filler in thick, causing shrinkage cracks
- Sanding with fingers instead of a block, leaving dips in the wall
- Painting straight onto bare filler and ending up with a dull patch
Work slowly, keep your layers thin and give everything time to dry. A repair done this way takes an afternoon and disappears completely, which is exactly what you want from it.
Photo: Krakograff Textures / Pexels